Recipe: Raviolo al'Uovo
(Want to never miss a recipe or bonus piece? Subscribe now for just $5 a month!)
(This amount of dough and filling would have served approximately 4 people with a mixture of plain cheese ravioli and 1 egg ravioli apiece. )
For filling:
2 cups spinach, cut thin
1 cup ricotta
3 oz. Parmesan cheese, grated
pinch of nutmeg
¼ tsp. Pepper
1 egg yolk per raviolo
For dough:
1 cup 00 flour, plus more for kneading
2 eggs
¼ tsp salt
1 tsp. olive oil
One of the great things about making this recipe is that you can prep so much of it in stages. You can make the dough earlier in the day and then refrigerate it. The filling can be mixed up at your leisure. Getting these small steps out of the way when you’re relaxed can save you undue stress when you get to the more challenging tasks of separating eggs and rolling out the dough.
First sauté your spinach in olive oil on low heat until it wilts, approximately 3-5 minutes.
While it’s cooling, mix together your cheeses, nutmeg, salt and pepper. When the spinach is cool, add to the mixture. Refrigerate until ready to use.
See how easy that was? Don’t you already feel a sense of accomplishment?
To mix the dough, I like to pour my flour and salt into a bowl, make a well in the center, add the eggs and bring together with a fork, adding the olive oil while mixing. Once it’s roughly mixed, I then dump out onto a floured cutting board to knead. I’ve seen the Italian Nonnas who start with a mound of flour on a pasta board and I think this makes sense if you’re making so many cups of flour it no longer fits into a bowl, or you’re a skilled nonna who doesn’t have to worry about things going everywhere. I am not a skilled nonna.
It’s important to mention that your dough might be a bit wetter or stickier due to all sorts of variables like size of eggs or weather or if the flour is older. If so sprinkle in a bit more flour or you can easily add more while kneading by rolling it in extra flour.
Once it’s on the board I knead it for about 8-10 minutes. Flour the dough, wrap it in plastic and let it sit at room temperature for an hour, or place in the refrigerator until ready to use. If you refrigerate it, I recommend taking it out about 30 minutes before use so it can come to room temperature first.
When you’re ready to assemble your ravioli, the first step is to roll out the dough. Learn from my mistake: roll one sheet as you need it!
Before you start, be sure to flour the counter top or cutting boards, whatever you’re laying your finished pasta sheets on. Flour more surface than you think you need: the dough can get long.
As stated previously, we live in the future where you can see first hand how to use your equipment. I have a Kitchen Aid attachment to do just this. There’s also machines that can be cranked by hand for this. Really hard core nonnas will do it all with a rolling pin. Again, I am not a hardcore nonna.
This video is really useful as a visual aid if you’re using the Kitchen Aid attachment and you want to get acquainted with how it works. While the principle is the same, I don’t put my dough through as much as she does. I put it through once on “1,” fold it, put it through again, and then put the sheet as is, through again this time on the “2” setting, then on “3” and so on down to “8.”
If the dough gets so long it becomes unwieldy as you’re rolling it, you can place it down on the floured service, slice it in half with a pizza cutter or knife, and then finish the steps with each piece. Be sure to remember which number you’re on. (Although I’m sure I’ve forgotten and everything turned out OK. Funny how that happens.)
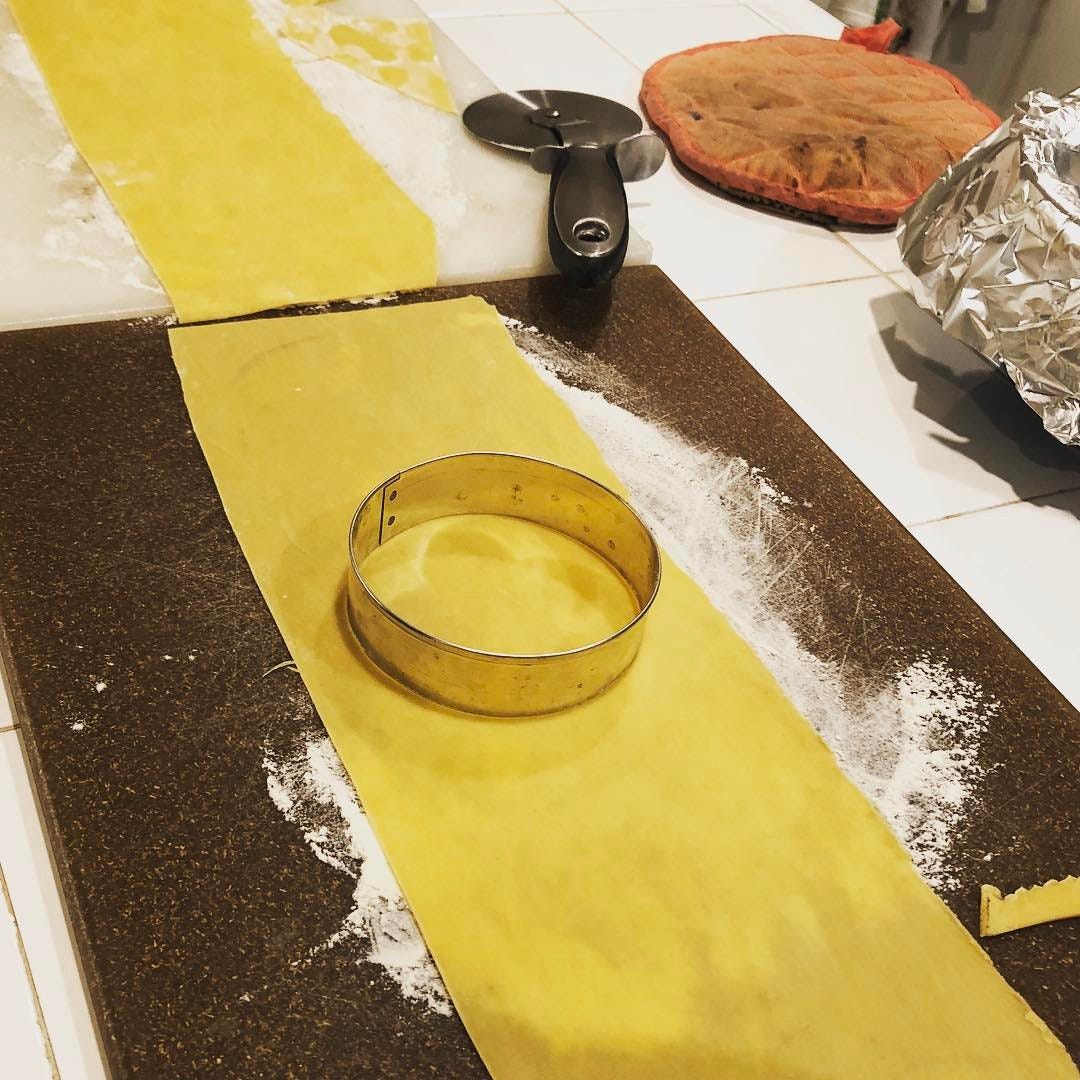
Once you have your first sheet completed, place it on the floured surface. I like to use a 3 inch biscuit cutter as a guide here. This way I have a template to fill in. Lightly mark off a 3 inch round in the floured surface of the sheet, being careful to not cut through the dough. Be sure to keep a ½ inch space between each round, so you have room to cut and fold later.
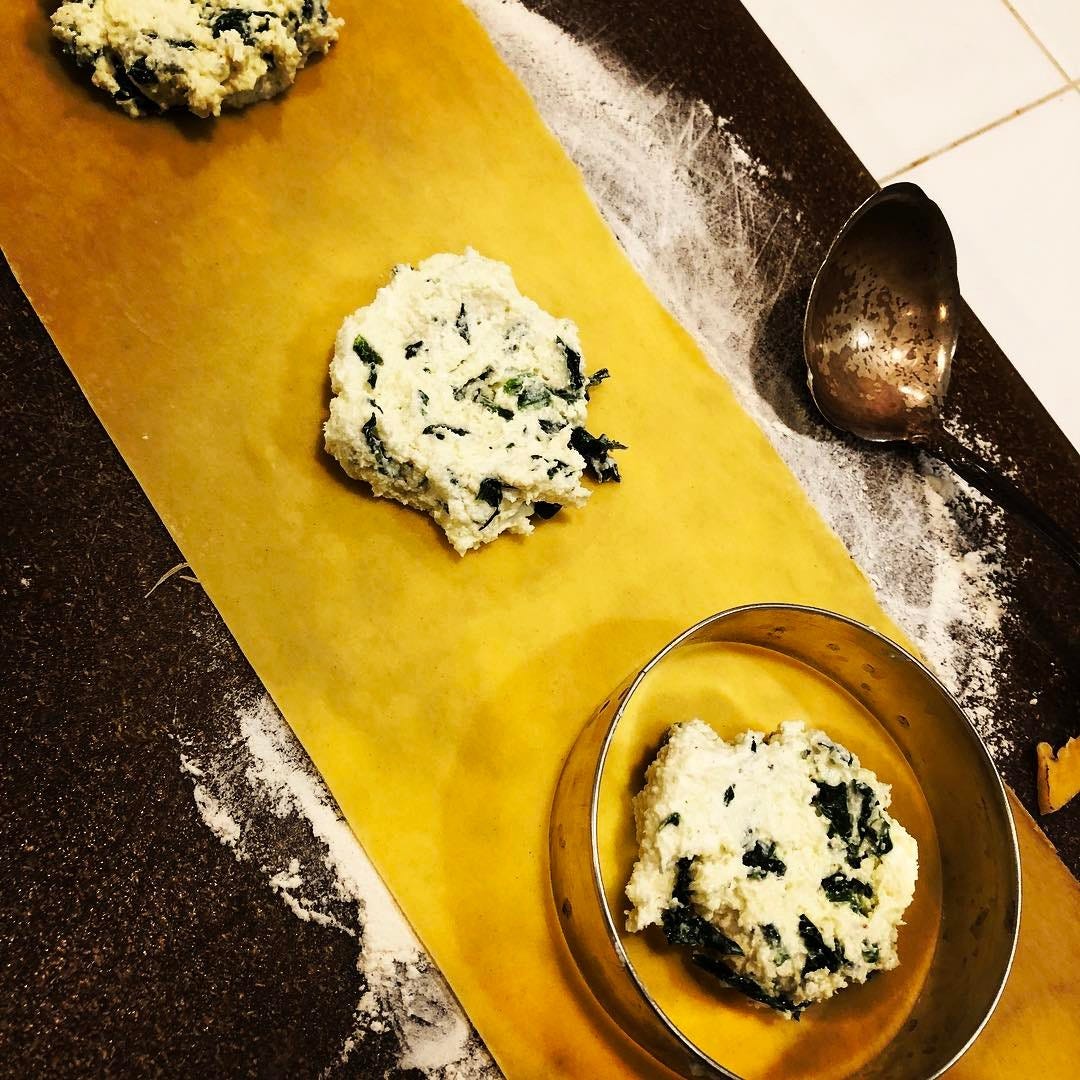
I then spoon a couple teaspoons of filling into the middle of the round, using my spoon or fingers to depress the middle where the yolk will go.
Next it’s time to separate the eggs.
Some people use their hands. I like using the shell, although as I found out last week, if you go back and forth too many times you can cut the yolk on a jagged edge and break it. Here’s 4 simple ways to do it here.
Decide for yourself which works best for you.
Once you have the yolk, gently place it in the center of your filling. You’re almost ready to button them up!
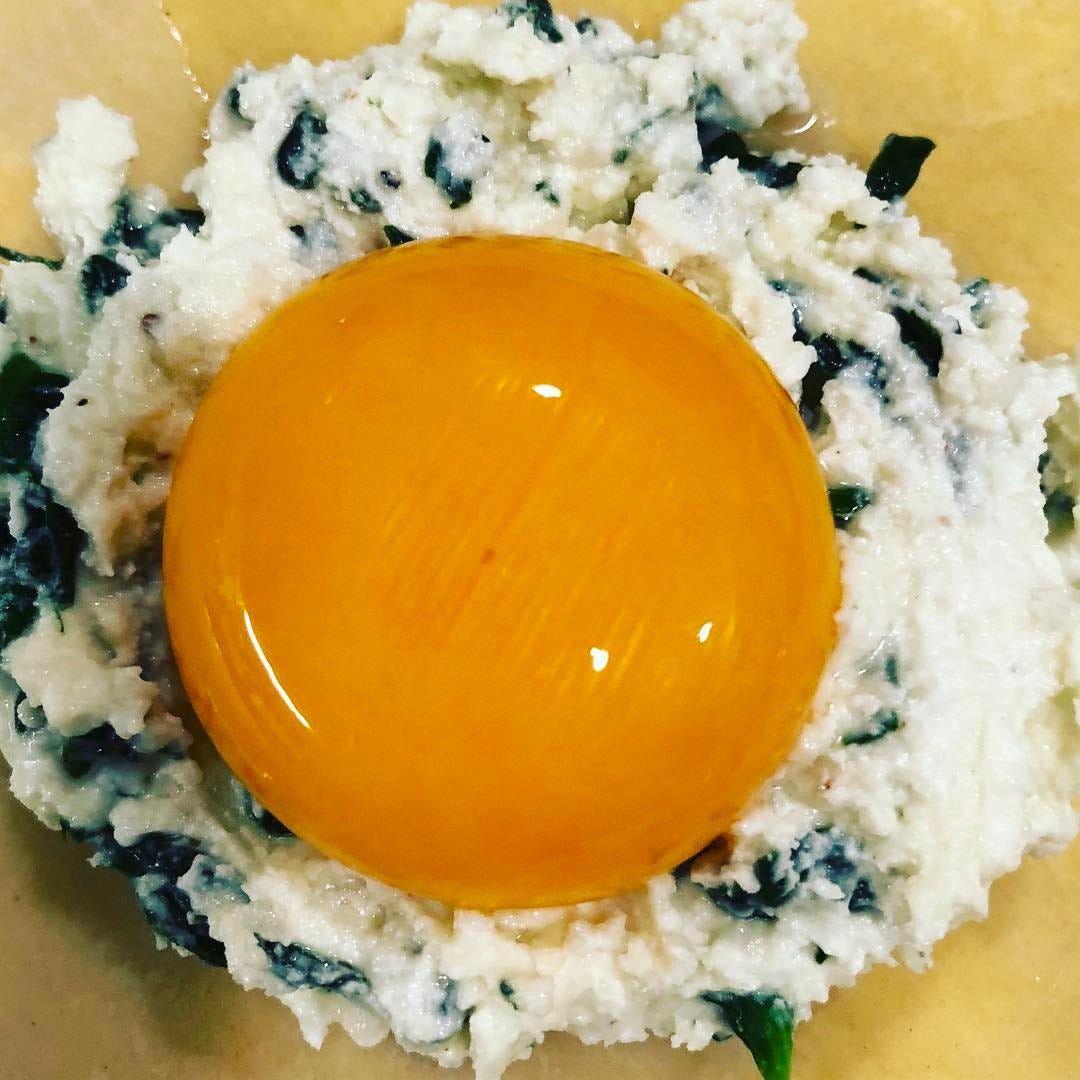
Roll out another sheet of dough and place this one very gently on top of the yolks and filling. Next take your pizza cutter and carefully cut between each raviolo. Gently, press very lightly around the filling to get rid of any air, before pressing the edges together. You can use a little water or egg wash if it’s drying out. Then fold up the edges and crimp together with a fork. Seal it well. Pretend you’re using that fork to smash the patriarchy.
Just so you know, these are never prettily fluted edges for me. Sometimes I fold up and sometimes down, depending on which ends up the bigger sheet of dough. The most important thing to make sure it’s sealed tight so nothing leaks while cooking. Everything else is extra.
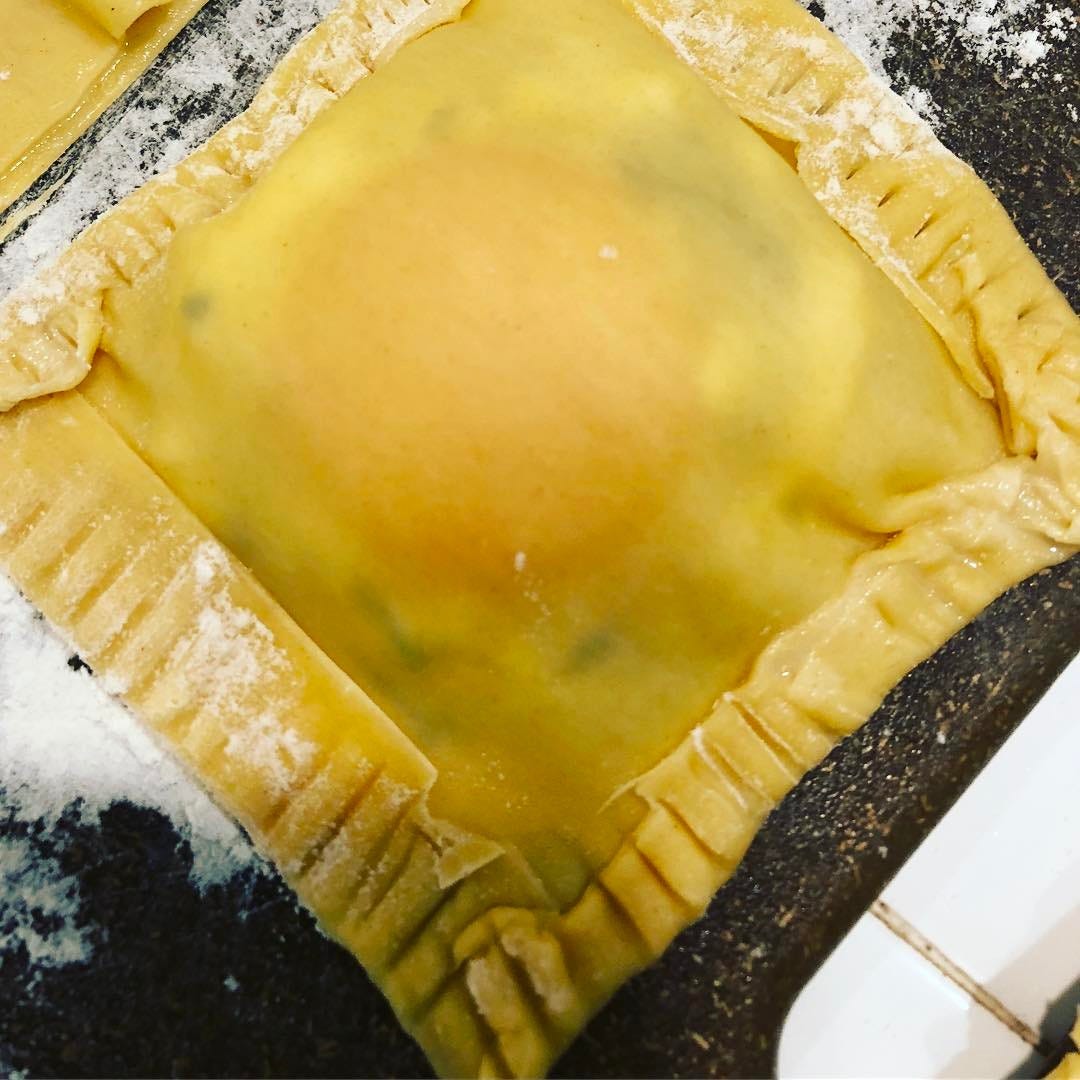
You can keep making uovo raviolo or you can just make plain. Roll out another sheet, cut it into squares and spoon filling on one side. Then fold over into a square or triangle and crimp the remaining open sides. Cook immediately or place on a well-floured cookie tray on the counter or in the fridge until ready to cook.
Do this until you run out of either dough or filling.
If you run out of dough save the filling for a snack the next day with shrimp or tomatoes or on pizza or toast. If you run out of filling, you can cut the remaining pieces of dough, flour it lightly and freeze in a zip lock back. Maltagliata may be the best word in the Italian language. It means “bad cuts” and it’s what I do with a pizza cutter and scrap dough. I just haphazardly slice it into smaller pieces, let it sit out to dry a bit and eventually freeze it. Likewise, with the dough scraps from squaring off the edges of the pasta sheets. It’s a great thing to discover in your freezer after a night of drinking and suddenly you have fresh pasta!
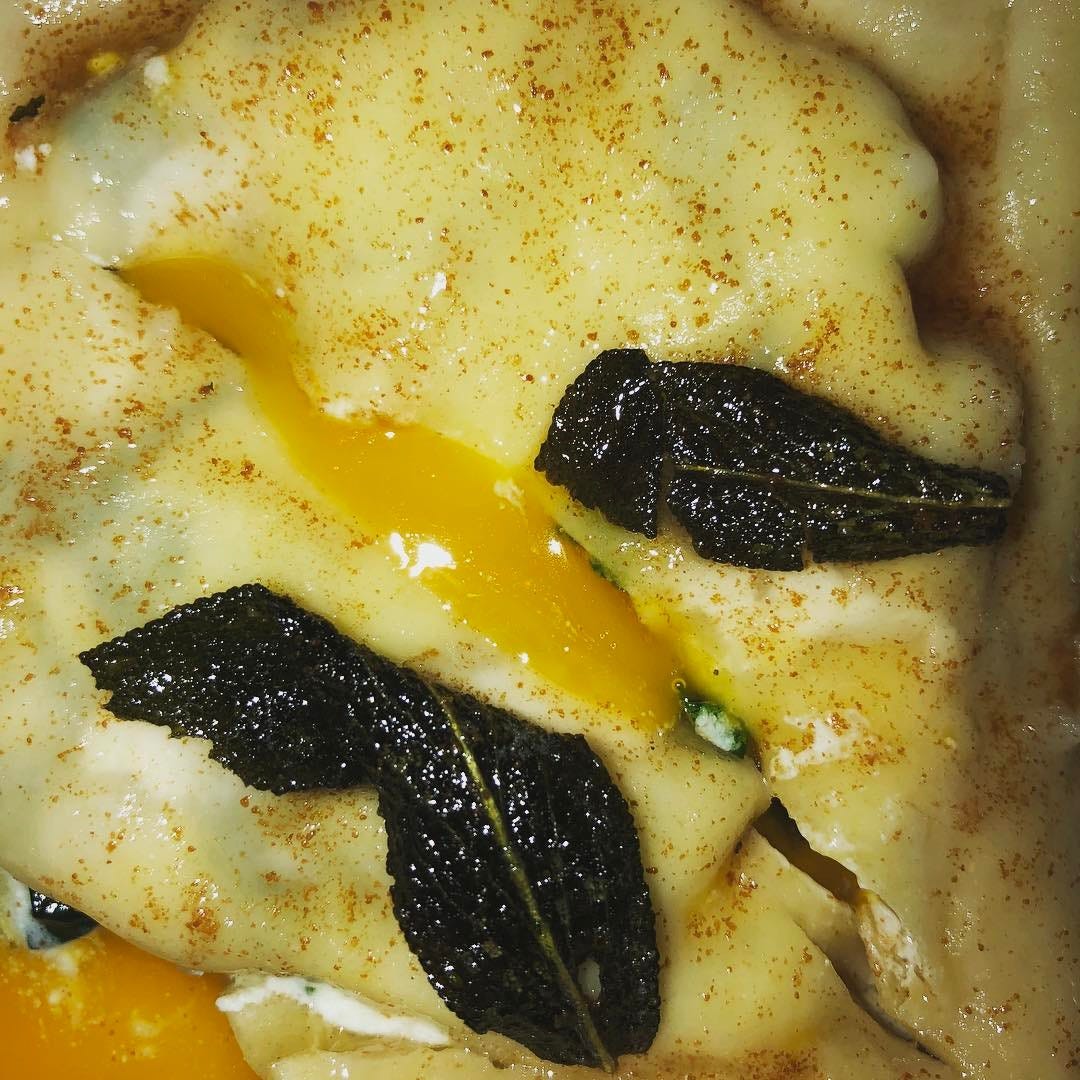
To cook the raviolo, boil in a large pot of water for two minutes, after which they should have risen to the top. Scoop out with a slotted spoon and serve with a brown butter sage sauce. Regular ravioli are done when they rise to the top.
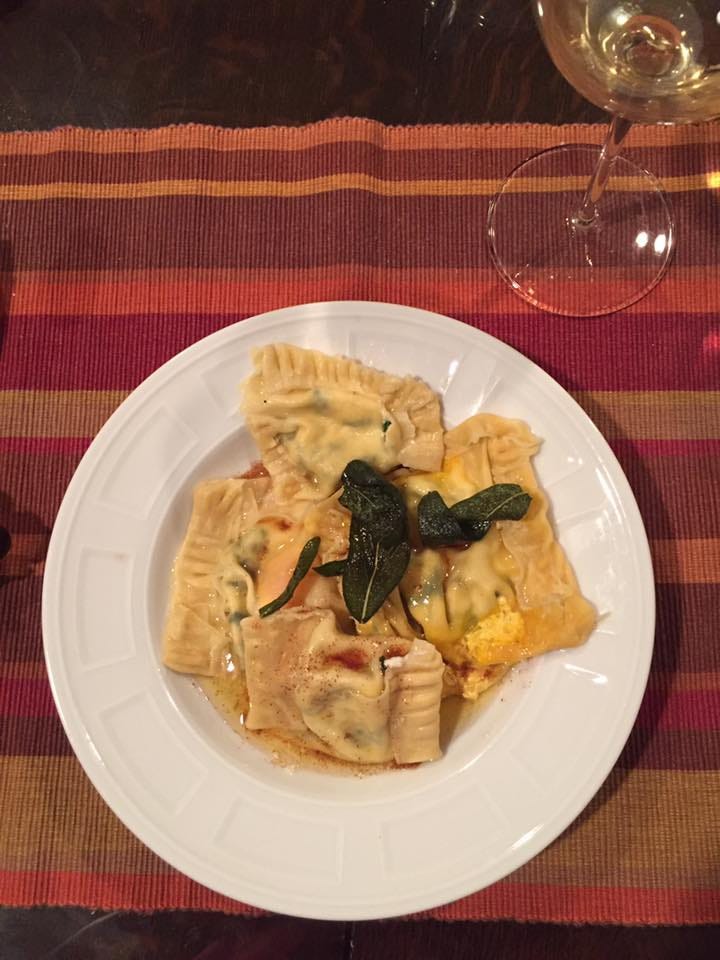
Are you sitting there thinking, “Great, Tess! But what am I going to do with all these egg whites?”
Good question. I used mine for eggs the next day with a little leftover ricotta filling. (I still have crème fraiche from 2 weeks ago so I mixed that into the eggs, too) Soufflés are also a great option the next day.

